This post is the second in a series on bike commuting and covers some of the "how" related to bike commuting. Other posts include Why?, Safety, and Weather Issues.
Commuter Bikes
If I had a nickel for every time someone asked me "What kind of bike should I buy?" I would be a rich man.
The short answer is: whatever bike that you will ride the most. Does that sound odd? The most expensive bike in the world is the one you never ride. I'll write up a longer article around bikes later on but here are the basics:
- Fit: this is first-A-#1 important. If your bike doesn't fit then you will be miserable and might even develop muscular, skeletal, or posture related issues. And you probably won't ride it very often. A good bike shop will start with fit (probably charging you for it) and move on to bike models from there.
- Bike type: Off-road, touring, road racing, TT/Tri bike... the list goes on. If you are training for triathlons then you have to ask yourself: do you want a tri bike that you can use for commuting or a commuter bike that can be used for triathlons? I went somewhere in the middle: a carbon road bike that doubles as a good-weather commuter with clip-on aero bars for tri racing.
- Find a good LBS (local bike shop). A good LBS will find the best bike that fits your body and for the type of riding you will doing. After the sale be sure to patronize them for accessories, clothing, and maintenance since their margins on bike sales are razor thin. When you need them in a pinch that relationship can help you get expidited maintenance/repairs and the only thing it will cost you is a dozen doughnuts extra.
- Test Ride: Narrow down your selection to 2-3 bikes and then take them out for a ride. And I'm not talking about a 5-10 minute trip around the block. Get out on a trail or road and spend a good hour-plus in the saddle. Do you like the way it handles? Does it shift smoothly? Do you like the saddle? (most places will switch out saddles)
- Ride it early and often. Most shops will work with you to fine-tune your setup in the first month or so, even switching out components or saddles with minimal cost (unless you upgrade). They are less likely to do this if you let the bike sit for 6 months before you decide you need a 135mm saddle instead of a 125mm.
One last word on shoes: if you are new to riding get yourself a good pair of bike shoes. Cleat type is subjective but most any will work in the long run. Your pedal power will increase tremendously, especially on hills. Don't believe me? Borrow a pair from a friend or try a test ride at your LBS and you will be convinced. On my first climb up Sahalee Way (a local street hill near my house) I cut over 3 minutes off my time (1 mile, 10% average grade). And the next day I couldn't stand up from the muscle soreness. Don't make that mistake and ease into climbing big hills.
Commute Gear
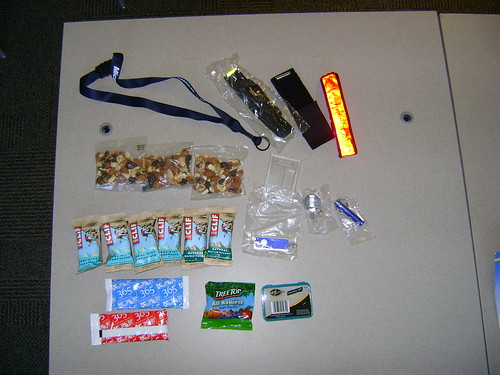
Where do I start? The basics for your basic "fair weather rider" can be pretty slim -
- Jersey
- Shorts
- Socks
- Shoes
- Gloves (light, fingerless variety)
- Helmet
- Bike
- Bike Computer
- Repair Kit (pump, spare tube)
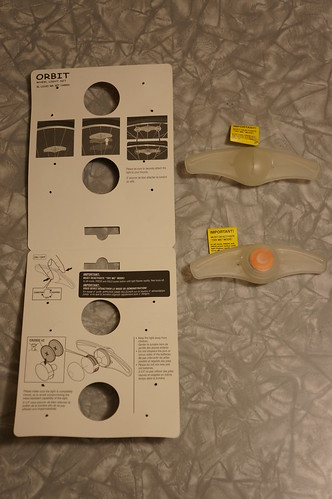
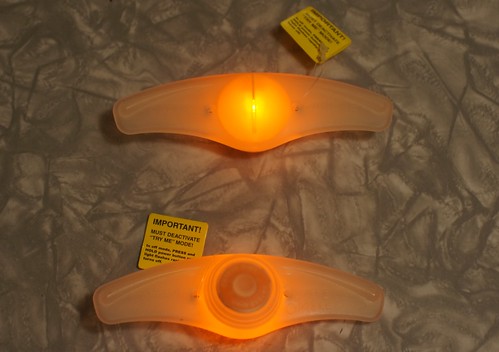
- Flashy lights (be-seen lights)
Seems pretty spartan, right? That's the point. In the warm months (late Spring through early Fall) I don't carry much more than that. I do sometimes have a small backpack for my computer which I sometimes have to bring home.
In the colder/wetter months the list gets MUCH longer, changing to long-sleeve jerseys, long cycling pants, rain jacket, the list goes on (for the full list, check the gear page). The point with my clothes is not necessarily to stay dry but to stay warm even though you may get very wet. I have been so wet that I was literally pouring water out of my shoes at the end of the ride but was toasty warm.
Why the bike computer? I use my Garmin as a training aid and because I'm a statistics nerd who is anal about numbers. I use the course feature every day and race against my best times for a given route to see if I can get a faster time. The training this provides allows me to skip a trip to the gym several times a week.
If you are on a budget it makes sense to start out as a fairweather commuter and then venture out into the cold and wet when you have gathered enough gear to make it comfortable. It only takes a couple of cold commutes to figure out where your tolerances lie.
Issue #1: Time
The first big hurdle I had to overcome was time. It takes time to commute by bike, typically more than by car. When I first began bicycle commuting my typical commute by car was 40 minutes "in" and 45-60 minutes to get home (round trip of 85-105 minutes). The ride in via bike was just under an hour of riding. Add in all the other time factors and the 1-way trip can be even longer-
- 5 minutes: gather gear for your bike and fill water bottle
- 5 minutes: pre-flight check on your bike (brakes, tire pressure, chain lubrication status, etc)
- 55 minutes: actual ride time (varies from 50-60 minutes)
- 10 minutes: shower/change (a MUST in my case, but YMMV)
Total time: 75 minutes. Compare that to my 40 minute car commute and the time starts to add up quickly. My drive and ride times have gone down recently (20-25 by car and 35 by bike) but that means the comparison of bike to car is now 25 vs. 55 minutes (more than double the time). Making this choice means making some time sacrifices in other aspects of your personal/work schedule. In bad weather months the car commute time goes up to 40-60 minutes while the bike times remain about the same.
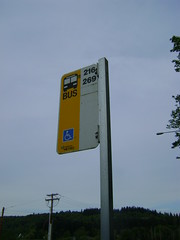
What about other forms of commuting? Is a bus worth the time? In my case the answer is "maybe". If I time it right I can be to work in just under an hour by bus, which includes walking time (bus stop is 1/3 of a mile away from my house) and time on the bus (bus stop is a few hundred yards from my office). It is an option on days where I don't wish to ride but still much longer than by car.
Sometimes busses can be incredibly slow, as illustrated by this video by a NYC commuter where he beat a bus in a 1 mile race on a Manhattan street on a big wheel. Yes, a child's play toy can be faster than riding a bus in a metro area with high street congestion. Imagine what you can do if you bike, run/jog, rollerblade, etc.
Issue #2: Weather
The day I'm writing this section (18 Apr 2011) it snowed on me. Then in the afternoon of the same day it was sunny with only a few clouds. Unless you are in the desert in the middle of summer or Monsoon season in southeast Asia your weather can be an unpredictable nightmare. Do you dress warm? Do you bring a rain jacket? Should you be prepared and suffer the extra weight of all that ballast?
Here are my main rules for weather:
- Temp below freezing or ice/snow on the ground = I don't ride. I can drive my car in the ice/snow but riding on 2 wheels without studded snow tires is a recipe for disaster. My preference for remaining injury free overides my necessity to ride every day.
- I made the investment in rain/cold weather gear so, by jove, I'm going to use it. Rain won't stop me but hail/snow will force me to pull over and wait it out. Have you ever had hail hit you in the face at 40 MPH? It doesn't feel good.
- If there is even a hint of rain in the forecast I bring along my rain gear, or at least my rain jacket.
Issue #3: Fitness (Getting Started)
This issue depends completely on your locality, commute distance, and topography (more on topography below). If you are a couch potato, like I used to be, getting on a bike and riding even 5 to 10 miles can be a challenge. When I first bought my road bike, after a 10+ year hiatus from cycling, I rode it around the block. I learned 2 things immediately-
- Pinch flats can be easily prevented with proper tire inflation. }B^)
- I was incredibly out of shape, even though I had recently lost 60+ pounds via diet and exercise.
It may take several months of dedicated riding to get your fitness level up to the point where you are comfortable commuting on a daily basis. At any rate, go to your doctor and get a physical exam before starting a bike commute regimen, just as you should before starting ANY exercise program.
Issue #4: Breakdowns
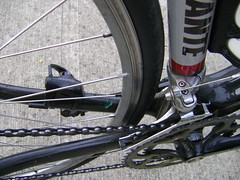
I HATE flat tires. I have very little tolerance for them, so much so that I spent extra money on some Schwalbe Marathon and Durano tires for my commute bikes that are nearly bullet proof. I also ride with Slime Tubes (self-healing tubes). This allows me to ride on all types of surfaces that may not exactly be "debris free" and do it without the fear of getting a flat.
So what do you do if find yourself with a mechanical issue that can't be fixed with the supplies you have on hand (which, for me, is most anything other than a flat tire or broken chain link)? You must have a backup plan. That plan can include having a taxi company in your cell phone address book (make sure you ask them to send a mini-van or car with large trunk for your bike), have your spouse or significant other on-call, and/or ride along a bus route where you can catch the bus and get a ride home.
I have done all 3. It never hurts to be extra prepared.
Issue #5: Emergencies
How do you get home quickly/immediately if there is a some type of emergency involving your family, the weather, or your health? Once again this is where you need to make additional plans ahead of time. The taxi, spouse/significant other, and bus are options. Some employers also provide a "ride home" in such emergencies if it happens while you are at work and will transport you home at no cost to you. YMMV.
Issue #6: Topography
I live in the Seattle, WA area and man, do we have hills! My typical commute is 8 miles and 650 feet of climbing, each way. Yes, my commute is "up hill both ways". I'm sure some day my kids will laugh at that joke. On my way home I immediately drop 300 feet of elevation in the first mile, ride across a valley, then climb up 400 feet and end it with a couple of rollers. My ride into work is the opposite.
Hills can be a big challenge. If you don't have a shower facility at your work this may be a show-stopper. Some of us (ahem, like me) really work up a sweat that would make me rather "anti-social" without at least a quick shower before returning to work.
Your fitness level may dictate if this is even an option. It was several months before I was able to climb the hills around here without stopping to catch my breath. Now it's not even a consideration. The only time I have stopped on a hill since then was due to mechanical or weather issues.
Issue #7: Illness
As I wrote recently, illness can be a huge issue for commuting/training. The summer months are the easiest because the sickness level at our house goes through the roof once school starts.
So what do you do if you get sick? Well, that depends on what exactly is making you sick. Common cold? Bacterial infection in your nose, sinuses, and/or throat? You might be able to ride. Ear congestion? Dizzy, vomiting, or flu symptoms? Hang up your helmet and stay home. Your best bet is to talk to your doctor. Sorry, there is no easy answer on this one.
Well that about does it. Next time we cover more safety strategies.
}B^)
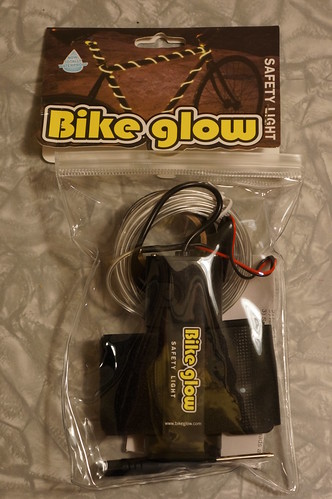
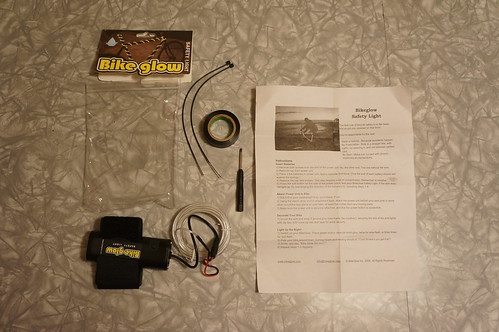
 For 4 months out of the year I commute home in the dark. Not sunset, dusk, or twilight, I'm talking the dark of NIGHT, the witching hour, when good little boys/girls turn into pumpkins... OK, I'm out of lame darkness-related sayings. It's dark. On December 21st Seattle gets 8 hours and 25 minutes of daylight (sunrise to sunset). On the flip side we get nearly 16 hours of daylight on June 21. It is SOOO fun going for a bike ride at 8pm and coming back an hour later and the sun still hasn't gone down, but I digress. Back to the dark.
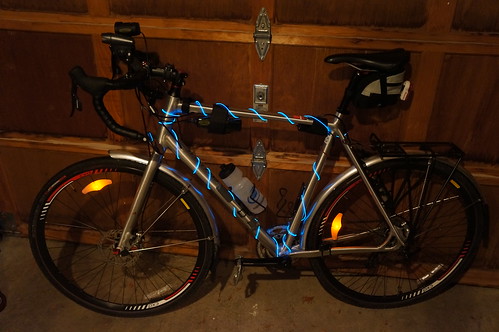

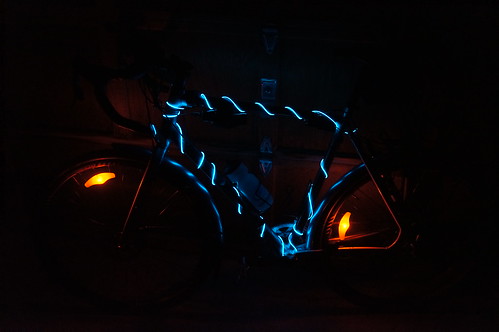
 Light Cycle from Tron: Legacy